Lecture
In this lesson:
- we read action from Intent
In the last lesson, we made an illustrative example showing how action , Intent and Intent Filter are interrelated. In this lesson we will continue the topic. There are two news: good and good)
The first news. Intent Filter can contain several action . Thus, the Activity makes it clear that it is capable of several actions . For example, not only viewing pictures, but also editing. It turns out that the Activity can come up with different Intent with different actions.
The second news. An activity that was invoked using an Intent has access to this Intent and can read its attributes . Those. can find out what action was used.
We will do the following: create an Activity and set the Intent Filter to action = ru.startandroid.intent.action.showtime and action = ru.startandroid.intent.action.showdate . Thus, we denote that this Activity is capable of showing time and date. Next we will create an Intent either with action = ru.startandroid.intent.action.showtime , or with ru.startandroid.intent.action.showdate . Both of them will cause one Activity . And so that the Activity knows to show him the date or time, we will read the action from Intent and determine from it.
In general, now we start doing and everything will become clear)
Create a project:
Project name : P0271_GetIntentAction
Build Target : Android 2.3.3
Application name : GetIntentAction
Package name : ru.startandroid.develop.p0271getintentaction
Create Activity : MainActivity
Open main.xml and draw two buttons:
  <? xml version = "1.0" encoding = "utf-8"?>
  <LinearLayout
  xmlns: android = "http://schemas.android.com/apk/res/android"
  android: layout_width = "fill_parent"
  android: layout_height = "fill_parent"
  android: orientation = "horizontal">
  <Button
  android: layout_width = "wrap_content"
  android: layout_height = "wrap_content"
  android: id = "@ + id / btnTime"
  android: text = "Show time">
  </ Button>
  <Button
  android: layout_width = "wrap_content"
  android: layout_height = "wrap_content"
  android: id = "@ + id / btnDate"
  android: text = "Show date">
  </ Button>
  </ LinearLayout>
The screen is exactly the same as in the previous lesson.
Code for MainActivity.java :
package ru.startandroid.develop.p0271getintentaction;
 import android.app.Activity;
 import android.content.Intent;
 import android.os.Bundle;
 import android.view.View;
 import android.view.View.OnClickListener;
 import android.widget.Button;

 public class MainActivity extends Activity implements OnClickListener {

 /** Called when the activity is first created. */
 @Override
 public void onCreate(Bundle savedInstanceState) {
 super.onCreate(savedInstanceState);
 setContentView(R.layout.main);

 Button btnTime = (Button) findViewById(R.id.btnTime);
 Button btnDate = (Button) findViewById(R.id.btnDate);

 btnTime.setOnClickListener(this);
 btnDate.setOnClickListener(this);
 }

 @Override
 public void onClick(View v) {
 Intent intent;

 switch(v.getId()) {
 case R.id.btnTime:
 intent = new Intent("ru.startandroid.intent.action.showtime");
 startActivity(intent);
 break;
 case R.id.btnDate:
 intent = new Intent("ru.startandroid.intent.action.showdate");
 startActivity(intent);
 break;
 }
 }
 }
The code is also completely from the last lesson. We define the buttons, assign the handler - Activity , and call Intent by pressing. Now we will make an Activity that will catch both of these Intent.
First, create an info.xml layout file:
  <? xml version = "1.0" encoding = "utf-8"?>
  <LinearLayout
  xmlns: android = "http://schemas.android.com/apk/res/android"
  android: layout_width = "match_parent"
  android: layout_height = "match_parent"
  android: orientation = "vertical">
  <Textview
  android: layout_width = "wrap_content"
  android: layout_height = "wrap_content"
  android: id = "@ + id / tvInfo"
  android: text = "TextView"
  android: layout_gravity = "center_horizontal"
  android: layout_marginTop = "20dp"
  android: textSize = "30sp">
  </ TextView>
  </ LinearLayout>
On the screen we have one TextView.
We create Activity , we will call it simply Info .
Info.java code:
package ru.startandroid.develop.p0271getintentaction;

 import java.sql.Date;
 import java.text.SimpleDateFormat;

 import android.app.Activity;
 import android.content.Intent;
 import android.os.Bundle;
 import android.widget.TextView;

 public class Info extends Activity {

 @Override
 protected void onCreate(Bundle savedInstanceState) {
 super.onCreate(savedInstanceState);
 setContentView(R.layout.info);

 // получаем Intent, который вызывал это Activity
 Intent intent = getIntent();
 // читаем из него action
 String action = intent.getAction();

 String format = "", textInfo = "";

 // в зависимости от action заполняем переменные
 if (action.equals("ru.startandroid.intent.action.showtime")) {
 format = "HH:mm:ss";
 textInfo = "Time: ";
 }
 else if (action.equals("ru.startandroid.intent.action.showdate")) {
 format = "dd.MM.yyyy";
 textInfo = "Date: ";
 }

 // в зависимости от содержимого переменной format
 // получаем дату или время в переменную datetime
 SimpleDateFormat sdf = new SimpleDateFormat(format);
 String datetime = sdf.format(new Date(System.currentTimeMillis()));

 TextView tvDate = (TextView) findViewById(R.id.tvInfo);
 tvDate.setText(textInfo + datetime);
 }
 }
We get the Intent using the getIntent () method, read the action from it and, depending on the value, create and display text.
Do not forget to register a new Activity in the manifest and create an Intent Filter for it with two action and category . And label specify Date / time info.
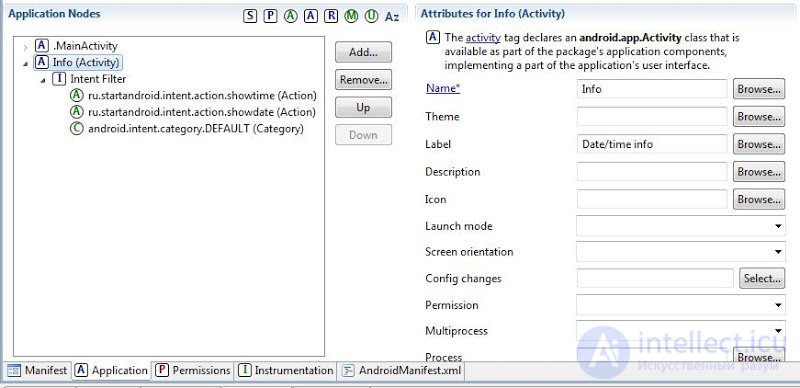
Intent Filter for Info contains two actions . So, if Intent comes with any of them, then the Activity will be triggered .
All save and run.
Click the Show time button. Most likely you will see the following:

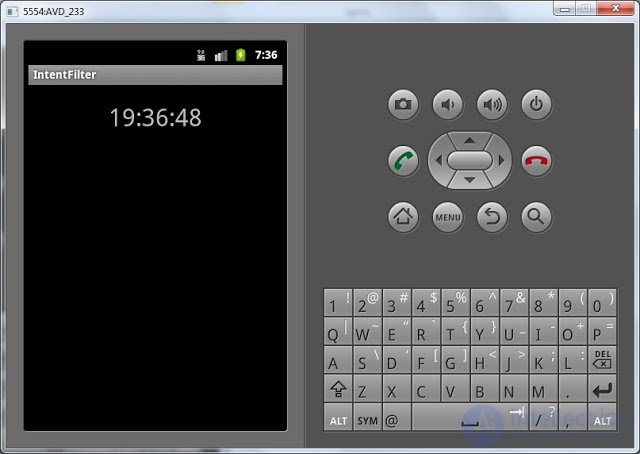
The system offers us a choice. Those. Intent with action = ru.startandroid.intent.action.showtime found two matching activities . What we have just created by Date / time info , everything is clear. A question - whence the second with the name IntentFilter . The answer is ActivityTime from the last lesson. It is called the IntentFilter because in the last lesson we did not specify a label for this Activity in the manifest label and the system displays the name of the application by default.
If the system did not display the selection dialog, it means that you either did not create the application from the previous lesson, or recreated AVD, or somewhere in the code.
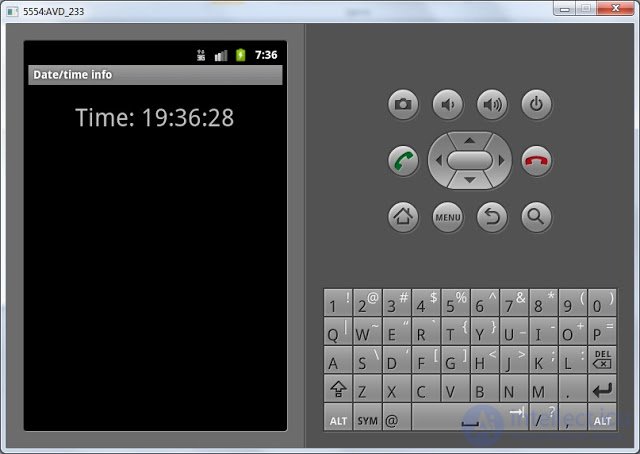
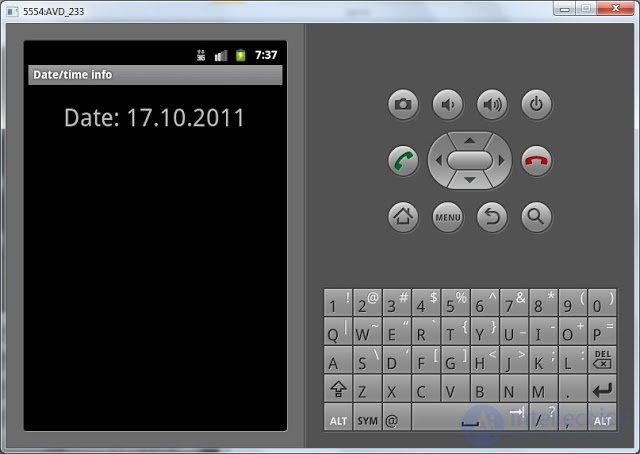
Select Date / time info and see what you just coded. Activity determined that Intent was with action = ru.startandroid.intent.action.showtime and showed time with the text Time:
If you select IntentFilter, we will see the Activity from the last lesson:
Now we will try to press the Show date: button. We see this choice:
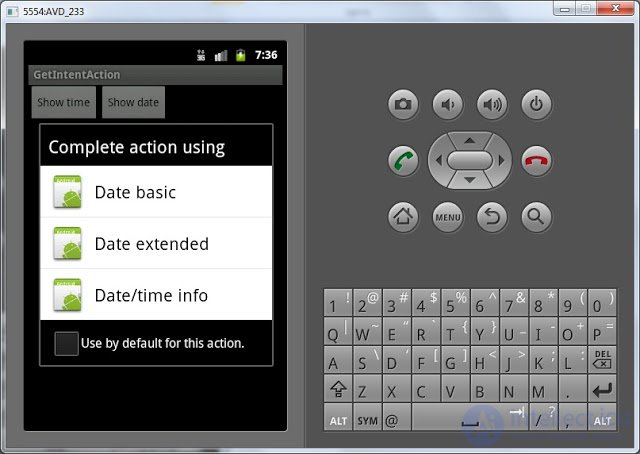
Again we see our Date / time info and two Activities from the last lesson. They all contain action = ru.startandroid.intent.action.showdate in the Intent Filter and we have to choose. Select Date / time info and see the date with the text Date:
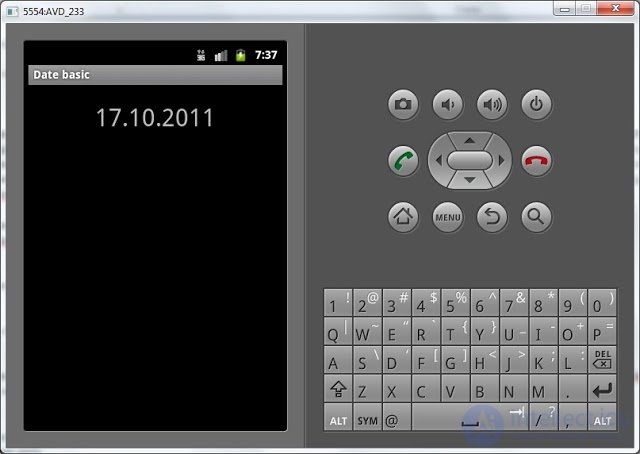
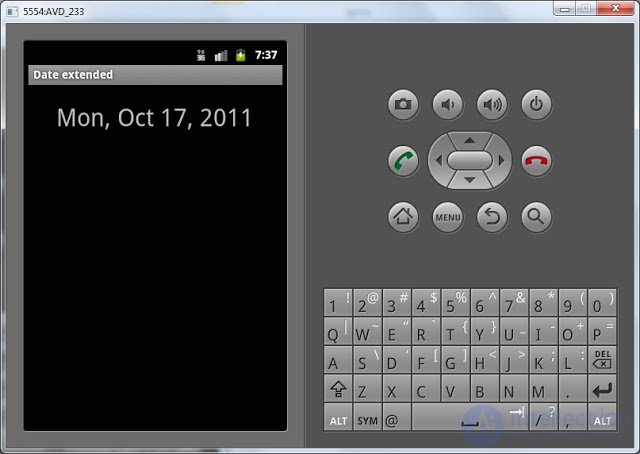
If you choose Date basic or Date extended, you will see what you did in the last lesson:
regular date
and extended
We saw that a single Activity could be invoked using an Intent with different actions . An activity can read the action and perform the necessary actions.
We also made sure that Intent is looking for an Activity for all applications in the system. This time, he found an Activity from the application that we did in the last lesson.
In the next lesson:
- we transfer data by means of Intent

Comments
To leave a comment
Mobile Programming (Android IOs)
Terms: Mobile Programming (Android IOs)