Lecture
In this lesson we:
- create and call the second Activity in the application
We got to a very interesting topic. In all previous lessons we created applications that contained only one screen (Activity). But if you use a smartphone with Android, then you notice that there are usually more screens in the application. If you consider, for example, a mail application, then it has the following screens: a list of accounts, a list of letters, a letter view, a letter creation, settings, etc. It's time for us to learn how to create multi-screen applications .
Create a project:
Project name : P0211_TwoActivity
Build Target : Android 2.3.3
Application name : TwoActivity
Package name : ru.startandroid.develop.p0211twoactivity
Create Activity : MainActivity
Open main.xml and create such a screen:
  <? xml version = "1.0" encoding = "utf-8"?>
  <LinearLayout
  xmlns: android = "http://schemas.android.com/apk/res/android"
  android: orientation = "vertical"
  android: layout_width = "fill_parent"
  android: layout_height = "fill_parent">
  <Button
  android: layout_width = "wrap_content"
  android: layout_height = "wrap_content"
  android: text = "Go to Activity Two"
  android: id = "@ + id / btnActTwo">
  </ Button>
  </ LinearLayout>
On the screen, one button, by pressing which we will call the second screen.
Open MainActivity.java and write the code:
package ru.startandroid.develop.p0211twoactivity;

 import android.app.Activity;
 import android.os.Bundle;
 import android.view.View;
 import android.view.View.OnClickListener;
 import android.widget.Button;

 public class MainActivity extends Activity implements OnClickListener {

 Button btnActTwo;

 /** Called when the activity is first created. */
 @Override
 public void onCreate(Bundle savedInstanceState) {
 super.onCreate(savedInstanceState);
 setContentView(R.layout.main);

 btnActTwo = (Button) findViewById(R.id.btnActTwo);
 btnActTwo.setOnClickListener(this);
 }

 @Override
 public void onClick(View v) {
 switch (v.getId()) {
 case R.id.btnActTwo:
 // TODO Call second activity
 break;
 default:
 break;
 }
 }
 }
We defined the btnActTwo button and assigned it an Activity as a handler. The implementation of the onClick method for a button is still partially filled in - we determine which button was pressed. A little later here we will call the second screen . But first you need to create this second screen.
If you remember, when you create a project, we will create an Activity by default.

We are only required to specify the name of this Activity - usually we write here MainActivity. Let's understand what happens when this happens. We already know that the eponymous class MainActivity.java is created - which is responsible for the behavior of the Activity. But, besides this, the Activity is “ registered ” in the system with the help of the manifest file - AndroidManifest.xml.
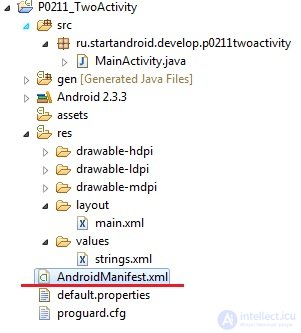
Let's open this file:
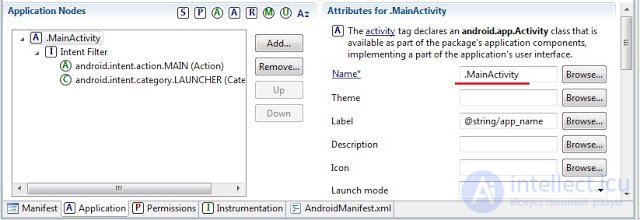
We are interested in the Application tab. On the left we see the MainActivity . If you expand it, inside you see an Intent Filter with certain parameters. While we do not know what it is and why, now we do not need it. Looking ahead, I will say that android.intent.action.MAIN shows the system that the Activity is the main one and will be displayed first when the application starts. And android.intent.category.LAUNCHER means that the application will be displayed in the general list of Android applications.
On the right side of the Name field is .MainActivity . This is the name of the class that is responsible for the work of the Activity (the same can be considered the name of the Activity).
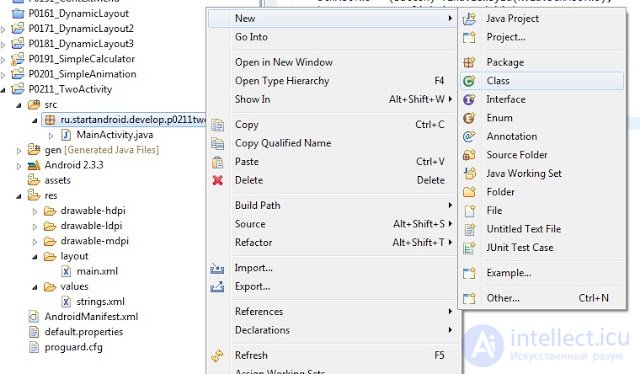
So, if we want to create another Activity , we need to create a class and register the Activity in AndroidManifest.xml . To create a class, right-click on the package ru.startandroid.develop.p0201twoactivity in the project folder and select New -> Class .
In the window that appears, enter the name of the class - ActivityTwo , and the superclass - android.app.Activity .

The class ActivityTwo is created. It is completely empty. We need to implement the onCreate method, which is called when creating the Activity:
package ru.startandroid.develop.p0211twoactivity;
import android.app.Activity;
import android.os.Bundle;
public class ActivityTwo extends Activity {
@Override
protected void onCreate(Bundle savedInstanceState) {
super.onCreate(savedInstanceState);
}
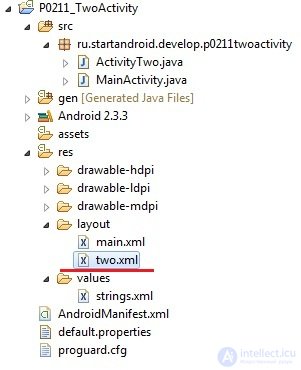
} There is a lack of a call to the setContentView method that would indicate to the class rather than fill the screen. This input method requires a layout file . Let's create it in the layout folder, in the same place as main.xml. Name the file two.xml
Fill this file with the following code:
  <? xml version = "1.0" encoding = "utf-8"?>
  <LinearLayout
  xmlns: android = "http://schemas.android.com/apk/res/android"
  android: orientation = "vertical"
  android: layout_width = "match_parent"
  android: layout_height = "match_parent">
  <Textview
  android: id = "@ + id / textView1"
  android: layout_width = "wrap_content"
  android: layout_height = "wrap_content"
  android: text = "This is Activity Two">
  </ TextView>
  </ LinearLayout>
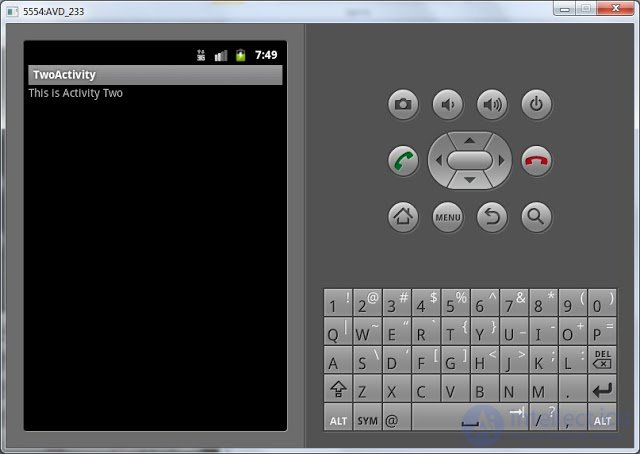
The screen will display a TextView with the text "This is Activity Two". Use the two.xml file in the setContentView method in ActivityTwo.java
protected void onCreate(Bundle savedInstanceState) {
 super.onCreate(savedInstanceState);
 setContentView (R.layout.two) ;
 }
(add only underlined code)
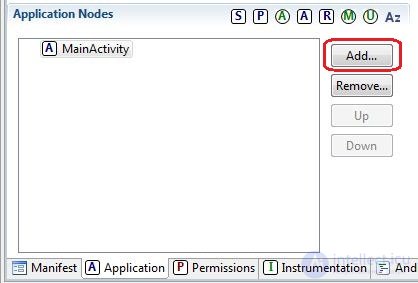
Save all. The ActivityTwo class is ready; when created, it will display what we configured in the two.xml layout file. Now you need to register Activity in the manifest. Open AndroidManifest.xml, the Application tab. Click the Add button.
Next, in the window that appears, select “Create a new element at the top level ...” (if there is a choice), and select Activity from the list.
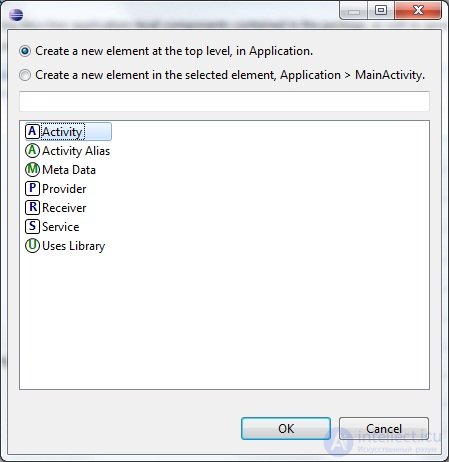
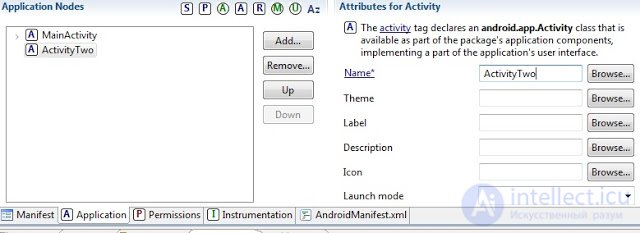
Click OK , Activity was created and appeared in the list. It remains to indicate to him the class that will be responsible for his work. On the right in the Name field we can manually write the name of the class that was created - "ActivityTwo". And we can click Browse and select it from the list (it will be necessary to wait a bit until the list is formed). In addition, nothing more to specify and fill is not necessary. Let's save everything.
Now two Activities are registered in the manifesto , and each refers to its own class .
It remains for us to return to MainActivity.java and complete the implementation of the onClick method (button click), namely, to register the call to ActivityTwo. Open MainActivity.java and add the lines:
case R.id.btnActTwo:
 Intent intent = new Intent(this, ActivityTwo.class);
 startActivity(intent) ;
 break;
(add only underlined code)
Update the import (CTRL + SHIFT + O), save all and we can run all this construction. At startup, MainActivity appears.
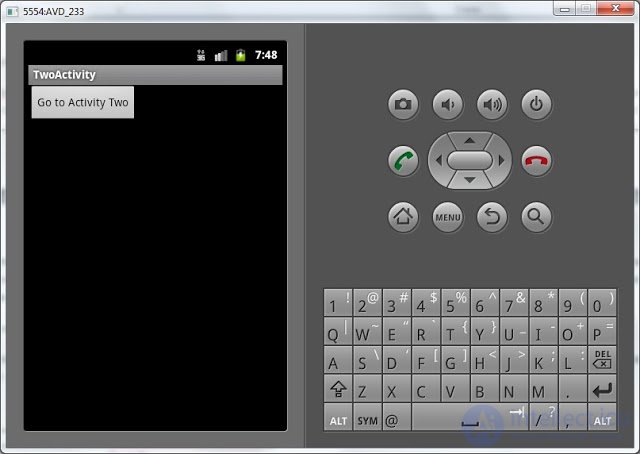
Click the button and go to ActivityTwo
The code for calling the Activity has not yet been explained, and the theory is not loading, the lesson is so complicated. It turned out a lot of text and screenshots, but in fact the procedure is minute. At first, it may not be clear, but gradually we will be involved. Let's create 5-6 pieces of new Activity in different projects and the topic will settle in the head.
For now, try to mentally go through this chain of actions several times and learn that to create an Activity, you need to create a class (which inherits android.app.Activity) and create the corresponding entry in the manifest file.
In the next lesson:
- we understand the code of lesson 21
- The theory of Intent and Intent Filter (do not miss, the topic is very important)
- a little about Context

Comments
To leave a comment
Mobile Programming (Android IOs)
Terms: Mobile Programming (Android IOs)