Lecture
Let's see how in Android applications is formed what we see on the screen.
Lesson updated 02/02/2015
If we draw an analogy with Windows, the application consists of windows called Activity. At a particular time, one Activity is usually displayed and occupies the entire screen, and the application switches between them. As an example, consider the mail application. In it, one Activity is a list of letters, another is a letter view, and the third is mailbox settings. When working, you navigate through them.
Activity content is formed from various components called View. The most common View is button, input box, checkbox, etc.
This can be roughly represented as follows:
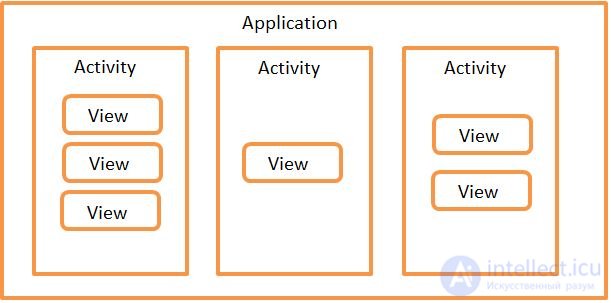
It should be noted that the View is usually placed in the ViewGroup. The most common example of a ViewGroup is Layout. Layout is of different types and is responsible for how its child View will be located on the screen (table, row, column ...)
More information about this can be found in the help in English, of course, the language)
Also, in version 3.0, a new entity appeared in Android - Fragment. But we will look at the topic of the fragments in later lessons in order not to complicate the material now.
Probably already confused with new words and terms, let's see it all in practice.
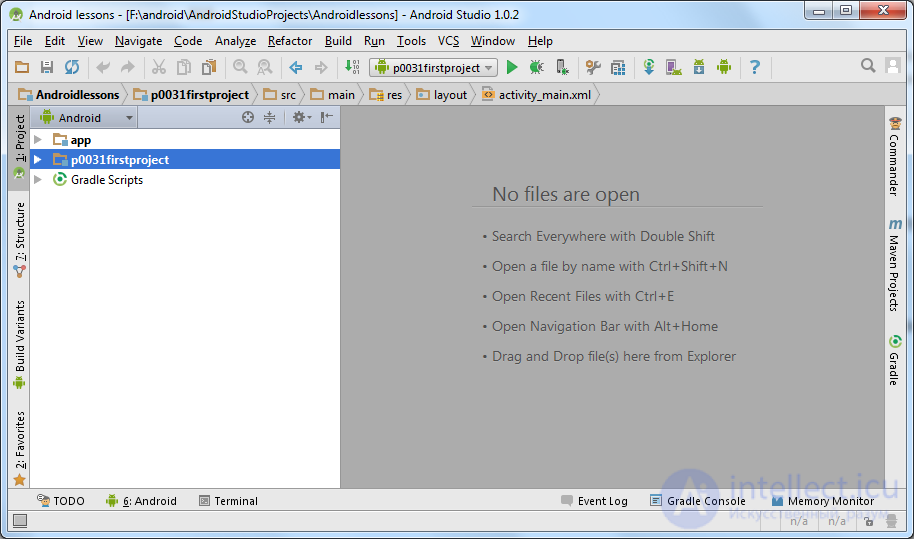
Create an attachment to this tutorial. To do this, run Android Studio and open the Android lessons project, which we created in the last lesson. Most likely, this project will immediately open for you by default.
Let me remind you that we decided to create in this project all the modules (applications) for lessons. And do not create a separate project for each lesson.
Create a module. In the menu File > New Module . All steps are similar to what we did in the last lesson, only there will be other names of the application and module
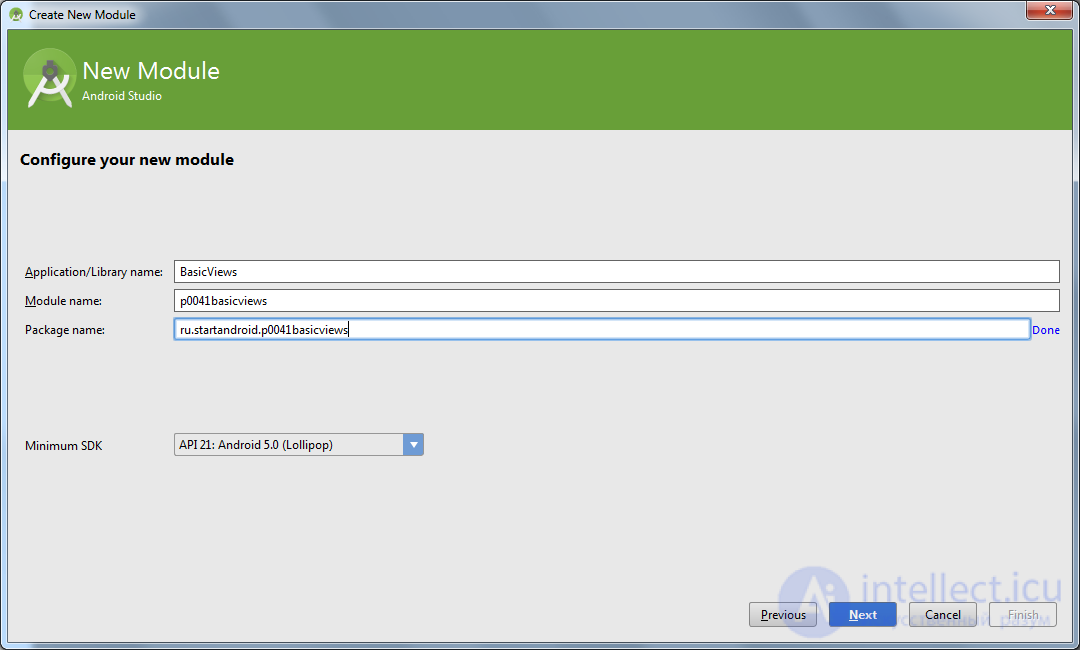
Application / Library name : BasicViews
Module name : p0041basicviews
Package name : ru.startandroid.p0041basicviews
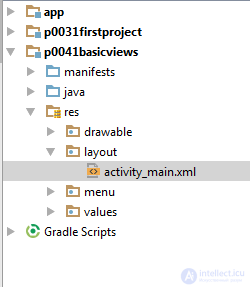
The p0041basicviews module has been created and is visible in the list of modules on the left:
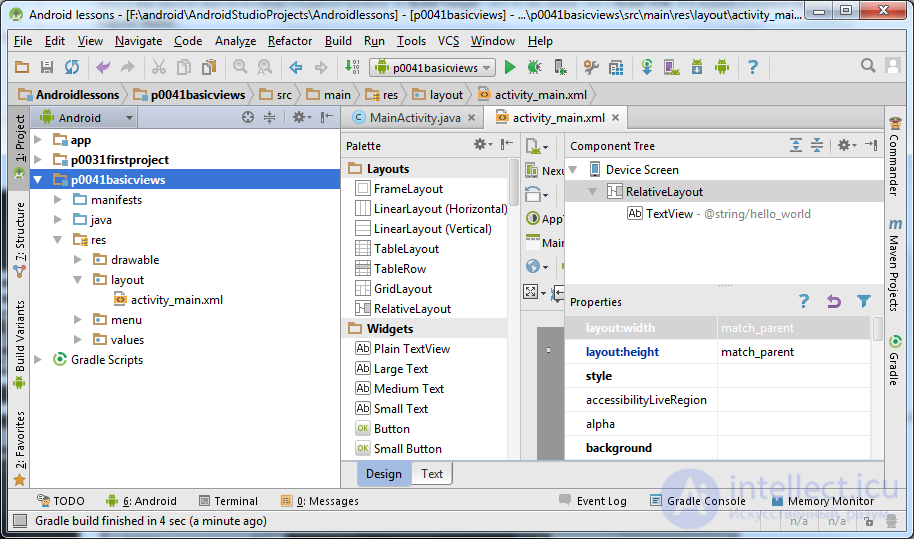
In our module we are interested in the file: res > layout > activity_main.xml
This is a layout file. In it, we define the set and location of the View elements that we want to see on the screen. When you start the application, the Activity reads this file and displays to us what we have configured. Most likely, it is already open for you to edit, but just in case, let's open it again with a double click and see what type of View it contains by default.
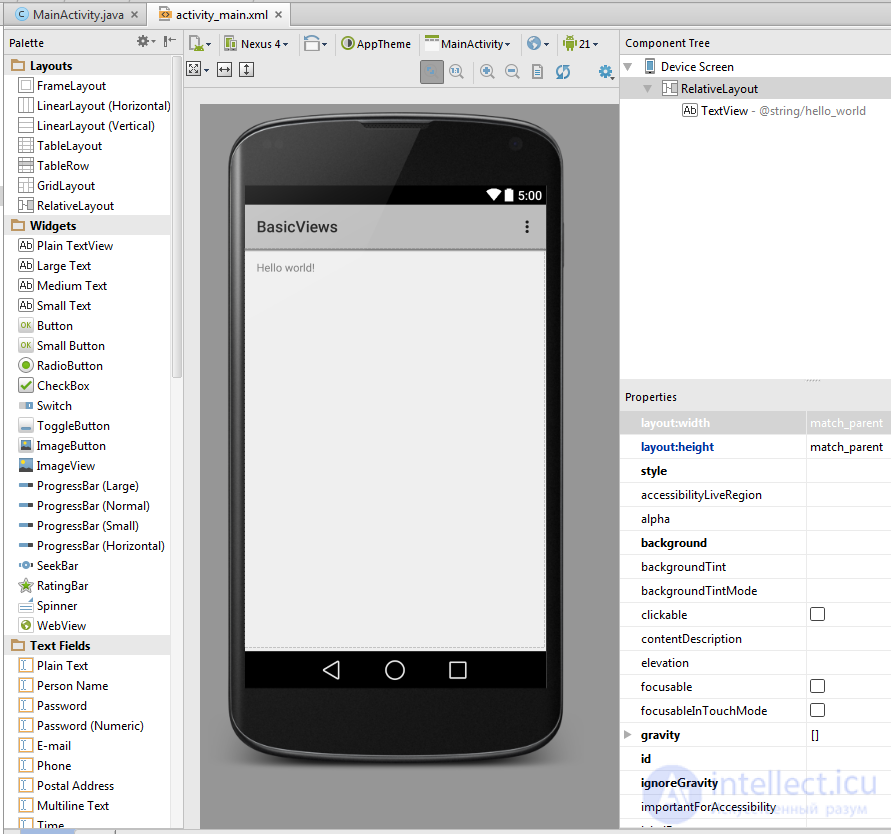
On the left we see the View list, divided into groups. All View-elements that you can use in your applications are displayed here.
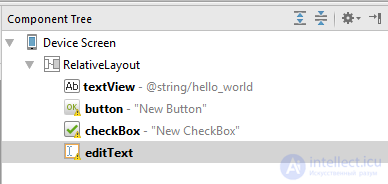
Pay attention to the white screen. We see that on the screen now there is an element with the text Hello world ! To find out what this View is, click on this text.
On the right in the Component Tree tab you see all the elements that are described in this layout file.
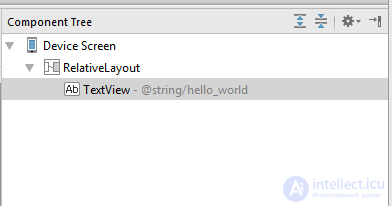
We see that the element we have selected is a TextView . This is an element that can display text. Please note that it is embedded in the RelativeLayout element - this is one of the ViewGroup views that I wrote about above.
Add more items to the screen, let it be Button and CheckBox . To do this, simply search the list on the left and drag it to the screen of your future application. You can also drag them to RelativeLayout in the Component Tree tab, the result will be almost the same. In addition to Button and CheckBox, add another to the Plain Text screen from the Text Fields group.
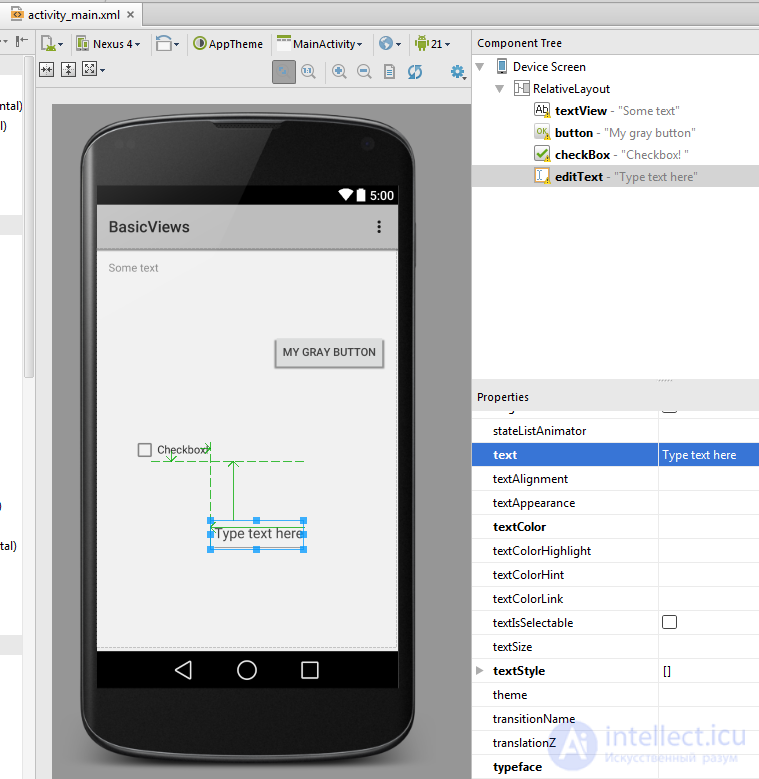
After these manipulations, your screen will look something like this:
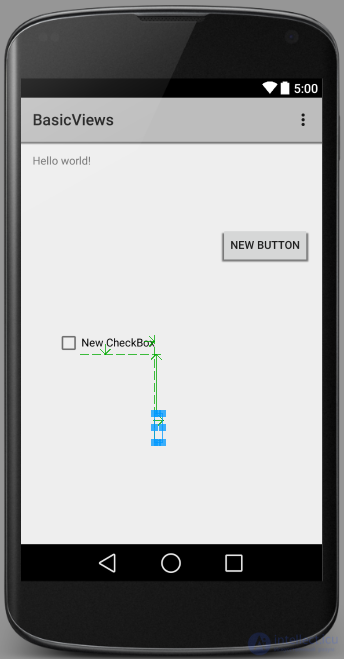
In Component Tree, they will appear as button , checkBox, and editText .
This is the ID that they were assigned automatically. As long as we leave them that way, we will later learn to change them and make them more meaningful.
Now let's change the labels on the components of our screen. In the Component Tree tab, click on the textView. Now we need the Properties tab. It displays the properties of the selected in Component Tree or on the screen of the View-element. It is usually located immediately under the Component Tree.
Find the text property in the Properties tab. Now there is a link to a text constant. Where are these constants created, we will look at the following lessons, but for now just let's write your text here: “Some text”
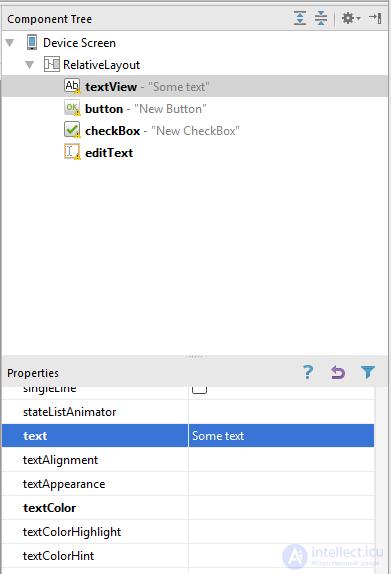
Similarly, change the text property for button, checkBox, and editText elements to your invented texts (in Russian).
All this screen configuration will be saved in the activity_main.xml file.
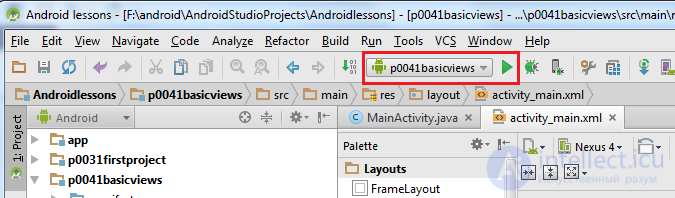
Now let's run the application. To do this, select your module in the list of available and click a little to the right on the green triangle.
The studio will ask you whether to run the emulator
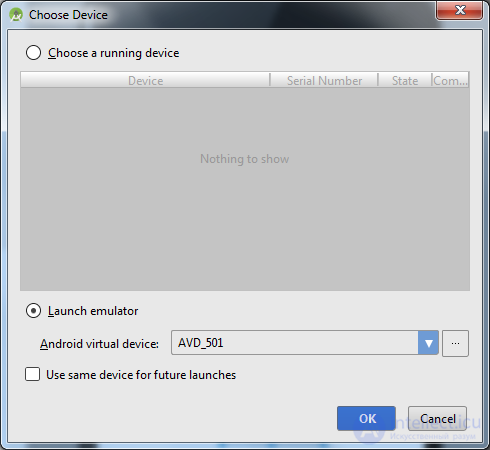
Click OK
After that, you can sit back and relax. Because the emulator will start for 2 minutes, then for another 5 minutes it will load. If you want faster, then I remind you that there is an alternative - Genymotion.
The emulator started, remove the lock and see:
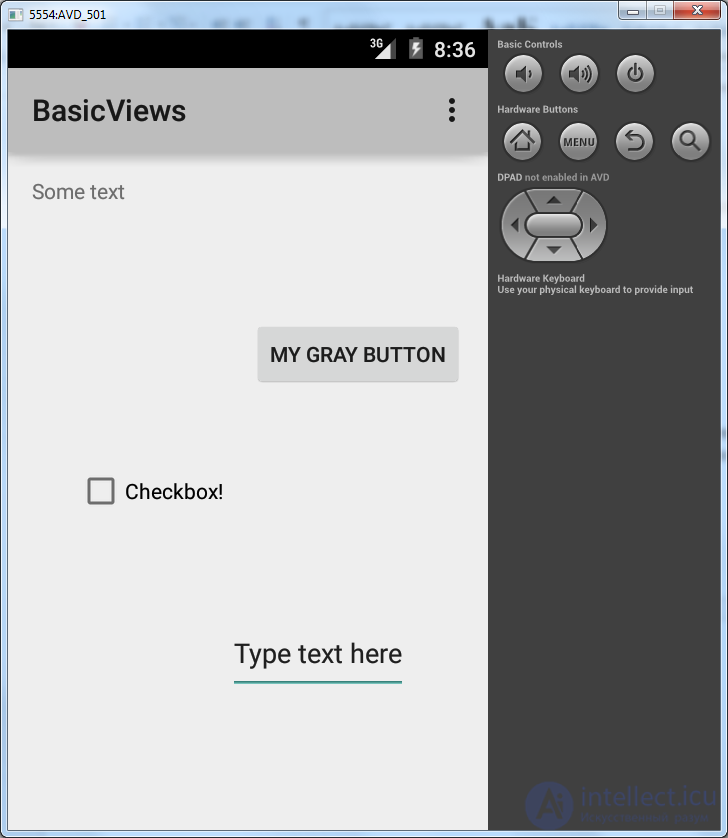
The application displays the MainActivity to us, and it in turn reads the activity_main.xml file and displays all the Views we created and set up in it.
In the next lesson we:
Consider a layout file from a different angle - XML
analyze where the Activity knows which layout file to read and try to configure to read another file
find out which layout file is used when changing the screen orientation (horizontal / vertical)

Comments
To leave a comment
Mobile Programming (Android IOs)
Terms: Mobile Programming (Android IOs)