Lecture
In this lesson:
- data storage using Preferences
 - video lesson version
Enough about Intent and Activity. Let's talk about data storage. There are several ways to store data in Android:
Preferences - as a analogy, you can bring Windows INI files
SQLite - database, tables
regular files - internal and external (on the SD card)
We will start with the simplest - Preferences . Values are saved as a pair: name , value . Just like for example extras in Intent.
Develop an application. It will have a text box and two buttons - Save and Load . By clicking on Save, we will save the value from the field, by clicking on Load - load .
Create a project:
Project name : P0331_SharedPreferences
Build Target : Android 2.3.3
Application name : SharedPreferences
Package name : ru.startandroid.develop.p0331sharedpreferences
Create Activity : MainActivity
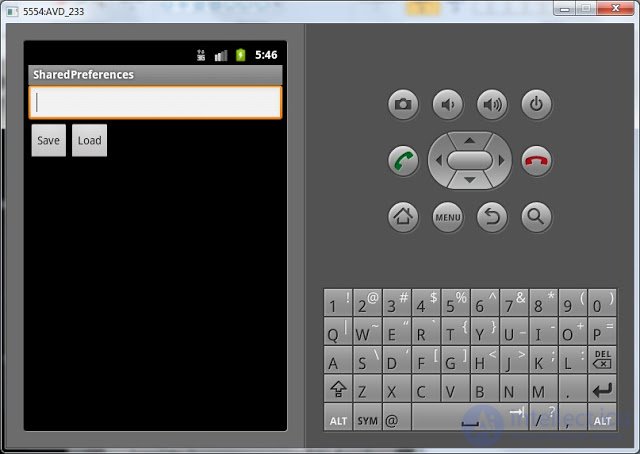
Open main.xml and create such a screen:
  <? xml version = "1.0" encoding = "utf-8"?>
  <LinearLayout
  xmlns: android = "http://schemas.android.com/apk/res/android"
  android: layout_width = "fill_parent"
  android: layout_height = "fill_parent"
  android: orientation = "vertical">
  <Edittext
  android: id = "@ + id / etText"
  android: layout_width = "match_parent"
  android: layout_height = "wrap_content">
  <requestFocus>
  </ requestFocus>
  </ Edittext>
  <LinearLayout
  android: id = "@ + id / linearLayout1"
  android: layout_width = "match_parent"
  android: layout_height = "wrap_content"
  android: orientation = "horizontal">
  <Button
  android: id = "@ + id / btnSave"
  android: layout_width = "wrap_content"
  android: layout_height = "wrap_content"
  android: text = "Save">
  </ Button>
  <Button
  android: id = "@ + id / btnLoad"
  android: layout_width = "wrap_content"
  android: layout_height = "wrap_content"
  android: text = "Load">
  </ Button>
  </ LinearLayout>
  </ LinearLayout>
Input field and two buttons.
Now we write the code in MainActivity.java :
package ru.startandroid.develop.p0331sharedpreferences;

 import android.app.Activity;
 import android.content.SharedPreferences;
 import android.content.SharedPreferences.Editor;
 import android.os.Bundle;
 import android.view.View;
 import android.view.View.OnClickListener;
 import android.widget.Button;
 import android.widget.EditText;
 import android.widget.Toast;

 public class MainActivity extends Activity implements OnClickListener {

 EditText etText;
 Button btnSave, btnLoad;

 SharedPreferences sPref;

 final String SAVED_TEXT = "saved_text";


 /** Called when the activity is first created. */
 @Override
 public void onCreate(Bundle savedInstanceState) {
 super.onCreate(savedInstanceState);
 setContentView(R.layout.main);

 etText = (EditText) findViewById(R.id.etText);

 btnSave = (Button) findViewById(R.id.btnSave);
 btnSave.setOnClickListener(this);

 btnLoad = (Button) findViewById(R.id.btnLoad);
 btnLoad.setOnClickListener(this);
 }

 @Override
 public void onClick(View v) {
 switch (v.getId()) {
 case R.id.btnSave:
 saveText();
 break;
 case R.id.btnLoad:
 loadText();
 break;
 default:
 break;
 }
 }

 void saveText() {
 sPref = getPreferences(MODE_PRIVATE);
 Editor ed = sPref.edit();
 ed.putString(SAVED_TEXT, etText.getText().toString());
 ed.commit();
 Toast.makeText(this, "Text saved", Toast.LENGTH_SHORT).show();
 }

 void loadText() {
 sPref = getPreferences(MODE_PRIVATE);
 String savedText = sPref.getString(SAVED_TEXT, "");
 etText.setText(savedText);
 Toast.makeText(this, "Text loaded", Toast.LENGTH_SHORT).show();
 }
 }
Defining screen elements, assigning handlers and implementing onClick - everything is clear and as usual. We are interested in the methods we call in onClick
saveText - save data. First, using the getPreferences method, we get the sPref object of the SharedPreferences class, which allows you to work with data (read and write). The MODE_PRIVATE constant is used to configure access and means that after saving, data will only be visible to this application. Next, in order to edit the data, the Editor object is required - we get it from sPref. In the putString method, we specify the name of the variable - this is the constant SAVED_TEXT , and the value is the content of the etText field. To save the data, you need to commit. And for clarity, we display a message that the data is saved.
loadText - load data. Just like saveText, using the getPreferences method, we get an sPref object of the SharedPreferences class. MODE_PRIVATE is specified again, although it is used only when writing data. Here we do not use the Editor, because we are only interested in reading the data. We read with the help of the getString method - in the parameters we specify a constant - this is the name and the default value (empty string). Next, we write the value in the etText input field and display a message that the data has been read.
All save, run the application.
For a start, let's make sure that saving is basically necessary. Enter a thread text in the input field

and without pressing the Save button, close the application with the Back button.
Now find the application in the general list of emulator applications.
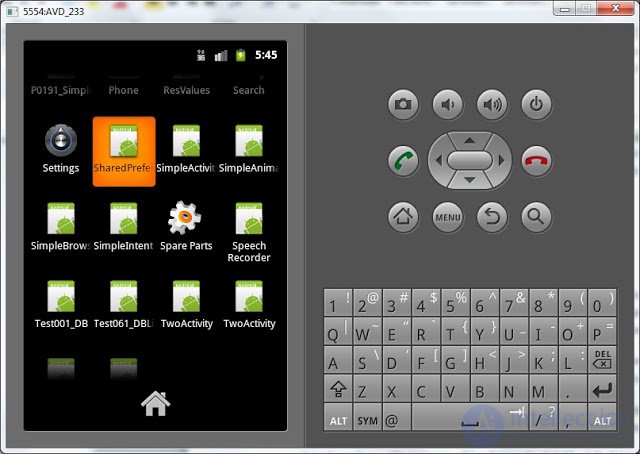
and run again.
The input field is empty. What we entered was lost when the program was closed. Clicking on Load also will not give anything - we did not save anything.
Let's try to save. Enter the value again and click Save .

The value is preserved in the system.
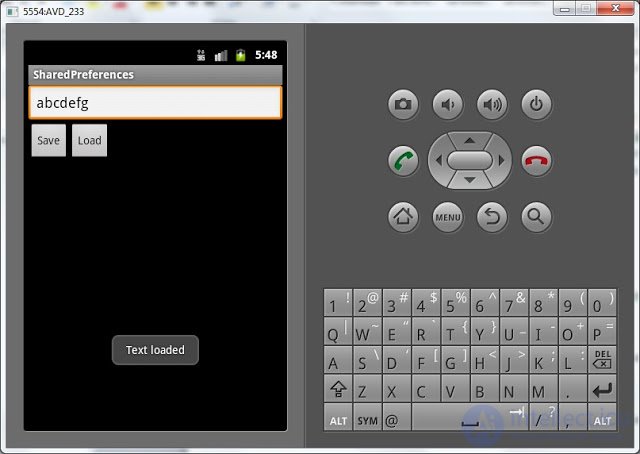
Now close the application ( Back ), open it again and click Load . The value was considered and displayed.
Let's make it so that saving and loading happen automatically when you close and open the application and you do not need to press a button. To do this, the loadText method will be called in onCreate .
public void onCreate(Bundle savedInstanceState) {

 ...

 btnLoad = (Button) findViewById(R.id.btnLoad);
 btnLoad.setOnClickListener(this);

 loadText () ;
 }
(Only add bold italic text)
and the saveText method is in onDestroy
@Override
 protected void onDestroy() {
 saveText();
 super.onDestroy();
 }
All save, run. Now you can enter data, close the application, reopen it and the data will not be lost. The Save and Load buttons also work. At what point it is up to you to save data in your applications. At the touch of a button, when you close the program or for any other event. The main thing - now you know how.
Some more words on this topic.
Preferences data is saved to files and you can view them. To do this, in Eclipse, go to Window > Show View > Other and select Android > File Explorer . The emulator file system was displayed. Open the data / data / ru.startandroid.develop.p0331sharedpreferences / shared_prefs and see the MainActivity.xml file there . If you unload it on a computer and open it, we will see the following:
  <? xml version = "1.0" encoding = "utf-8"?>
  <map>
  <string name = "saved_text"> abcdefg </ string>
  </ map>
That's right, the name is saved_text and the value is abcdefg .
Please note that our package is used in the file path.
Now let's figure out where the name of the MainActivity.xml file came from . In addition to the getPreferences method that we used, there is the getSharedPreferences method. It performs exactly the same functions, but allows you to specify a file name for storing data. That is, for example, if we used saveText to get SharedPreferences with the following code:
sPref = getSharedPreferences("MyPref", MODE_PRIVATE); That data would be saved in the file MyPref.xml , and not in MainActivity.xml .
Now, if we look at the sources of the getPreferences method, we see the following:
public SharedPreferences getPreferences(int mode) {
 return getSharedPreferences(getLocalClassName(), mode);
 }
The getSharedPreferences method is used , and the name of the class of the current Activity is taken as the file name. Hence the name of the file MainActivity.xml .
Eventually:
- use getPreferences if you work with data for the current Activity and do not want to invent a file name.
- use getSharedPreferences if you save, for example, data - common to several Activities and choose the name of the file to save.
By the way, in File Explorer you can see the unix rwx-file permissions. Try not to use MODE_PRIVATE , but MODE_WORLD_READABLE or MODE_WORLD_WRITEABLE when saving the data and see how the permissions change.
Full code MainActivity.java :
package ru.startandroid.develop.p0331sharedpreferences;

 import android.app.Activity;
 import android.content.SharedPreferences;
 import android.content.SharedPreferences.Editor;
 import android.os.Bundle;
 import android.view.View;
 import android.view.View.OnClickListener;
 import android.widget.Button;
 import android.widget.EditText;
 import android.widget.Toast;

 public class MainActivity extends Activity implements OnClickListener {

 EditText etText;
 Button btnSave, btnLoad;

 SharedPreferences sPref;

 final String SAVED_TEXT = "saved_text";


 /** Called when the activity is first created. */
 @Override
 public void onCreate(Bundle savedInstanceState) {
 super.onCreate(savedInstanceState);
 setContentView(R.layout.main);

 etText = (EditText) findViewById(R.id.etText);

 btnSave = (Button) findViewById(R.id.btnSave);
 btnSave.setOnClickListener(this);

 btnLoad = (Button) findViewById(R.id.btnLoad);
 btnLoad.setOnClickListener(this);

 loadText();
 }

 @Override
 public void onClick(View v) {
 switch (v.getId()) {
 case R.id.btnSave:
 saveText();
 break;
 case R.id.btnLoad:
 loadText();
 break;
 default:
 break;
 }
 }

 void saveText() {
 sPref = getPreferences(MODE_PRIVATE);
 Editor ed = sPref.edit();
 ed.putString(SAVED_TEXT, etText.getText().toString());
 ed.commit();
 Toast.makeText(this, "Text saved", Toast.LENGTH_SHORT).show();
 }

 void loadText() {
 sPref = getPreferences(MODE_PRIVATE);
 String savedText = sPref.getString(SAVED_TEXT, "");
 etText.setText(savedText);
 Toast.makeText(this, "Text loaded", Toast.LENGTH_SHORT).show();
 }

 @Override
 protected void onDestroy() {
 saveText();
 super.onDestroy();
 }

 }
In the next lesson:
- data storage using SQLite

Comments
To leave a comment
Mobile Programming (Android IOs)
Terms: Mobile Programming (Android IOs)