Lecture
Starting a server is a long and complex sequence of actions, depending on the hardware component, settings and the software used. Many, even experienced and qualified system administrators, have a poor idea of what exactly happens when the server starts, so we decided to analyze this process in detail.
In order not to disassemble all possible cases, we will consider loading under the following conditions:
Powering on the server is initiated in various ways, among which pressing the Power On button is the most common, but not the only one. Another option is through a command over the network ( Wake-on-LAN ) or through commands from external devices ( Wake-on-PCIe , Wake-on-Keyboard , Wake-on-Mouse ). Commands are executed only if the corresponding parameters are enabled in the BIOS Setup Utility , which we will talk about a little later.
A separate device is the BMC module, which provides advanced server management capabilities. Read more about this technology in our blog .
The previous methods are intelligent and require sending a specially formed command on the data buses. A simpler way: turn on when power is supplied to the power supply. In the BIOS settings, this parameter is called AC Power Loss and takes one of three states:
Using these methods equally leads to sending the processor a Reset signal and the start of the start procedure.
The first step in starting the server is to turn on the power supply and set the Reset signal for the processor. If there is a Reset signal, the processor frequency generator does not work, and the processor registers are reset to the values set by the processor manufacturer.
When starting in the power supply, transients occur, due to which the output voltage may be outside the permissible limits, which will negatively affect the working processor. Therefore, the Reset signal is not removed until the incoming power is completely stabilized.
After stabilizing the voltage, the power supply sets the signal Power Good. This signal means that the motherboard can start all server components. Next, the chipset maps to the address space all connected devices, including ROM (read-only memory) with the Basic Input / Output System (BIOS) code . Next, the Reset signal is removed and the processor frequency generator starts.
BIOS - a system that provides an API for working with equipment and connected devices. One of the important goals of the BIOS is to initialize and test the hardware at startup.
Regardless of the number of processors in the system, when the server starts, only one core of one processor wakes up, and the remaining cores remain in sleep mode. The awakened core is denoted by the Bootstrap Processor (BSP, hereinafter referred to as the processor). After the Reset signal disappears, the processor registers are filled in such a way that the processor operates in a special 32-bit mode called Initial Processor Mode .
Initial Processor Mode - an operating mode in which a 64-bit processor gets only after a reset. In this mode, the processor is capable of executing 32-bit instructions, and the address space is 4 GiB.
After Reset disappears, the processor's instruction counter indicates the address 0xFFFFFFF0 , which is called Reset Vector . At this address lies the first command that the processor decodes and executes.
Placing the first instruction at the end of the address space has historical justification. When developing the Intel 8086 processor, at the beginning of the address space was an interrupt vector, followed by RAM, the amount of which could be any. In order to avoid intersections with RAM, the address of the first command was taken at the end of the address space.
Later, with the advent of Intel 80286, the interrupt vector could be moved anywhere. However, even modern processors run in compatibility mode with 8086 and the interrupt vector at 0x0.
When accessing the address 0xFFFFFFF0, the processor receives the first command from the ROM. In Legacy mode, this command is a long jump or Far Jump into a memory segment with a BIOS code. After completing the first long jump, the processor enters 16-bit Real Mode and proceeds to execute the BIOS code.
Real Mode - compatibility mode with outdated 16-bit processors. In this mode, only 16-bit commands are available, and the address space, which is called the "lower memory", contains only 1 MiB.
As noted earlier, the BIOS executable code is stored on an external device, the work with which is not very fast, so the first thing the BIOS does is initialize the RAM and copy its own code from the ROM into it. The BIOS retains compatibility with outdated processors; therefore, it performs all actions in 16-bit mode.
Power On Self-Test (POST) is a key step in the BIOS. POST is abbreviated and complete. Full POST checks all available controllers and tests all available RAM, which can be time consuming.
The abbreviated POST speeds up the boot process and includes the minimum necessary set of actions:
When passing the POST, the server uses several ways to reflect information about the passage of the tests. The most common ways:

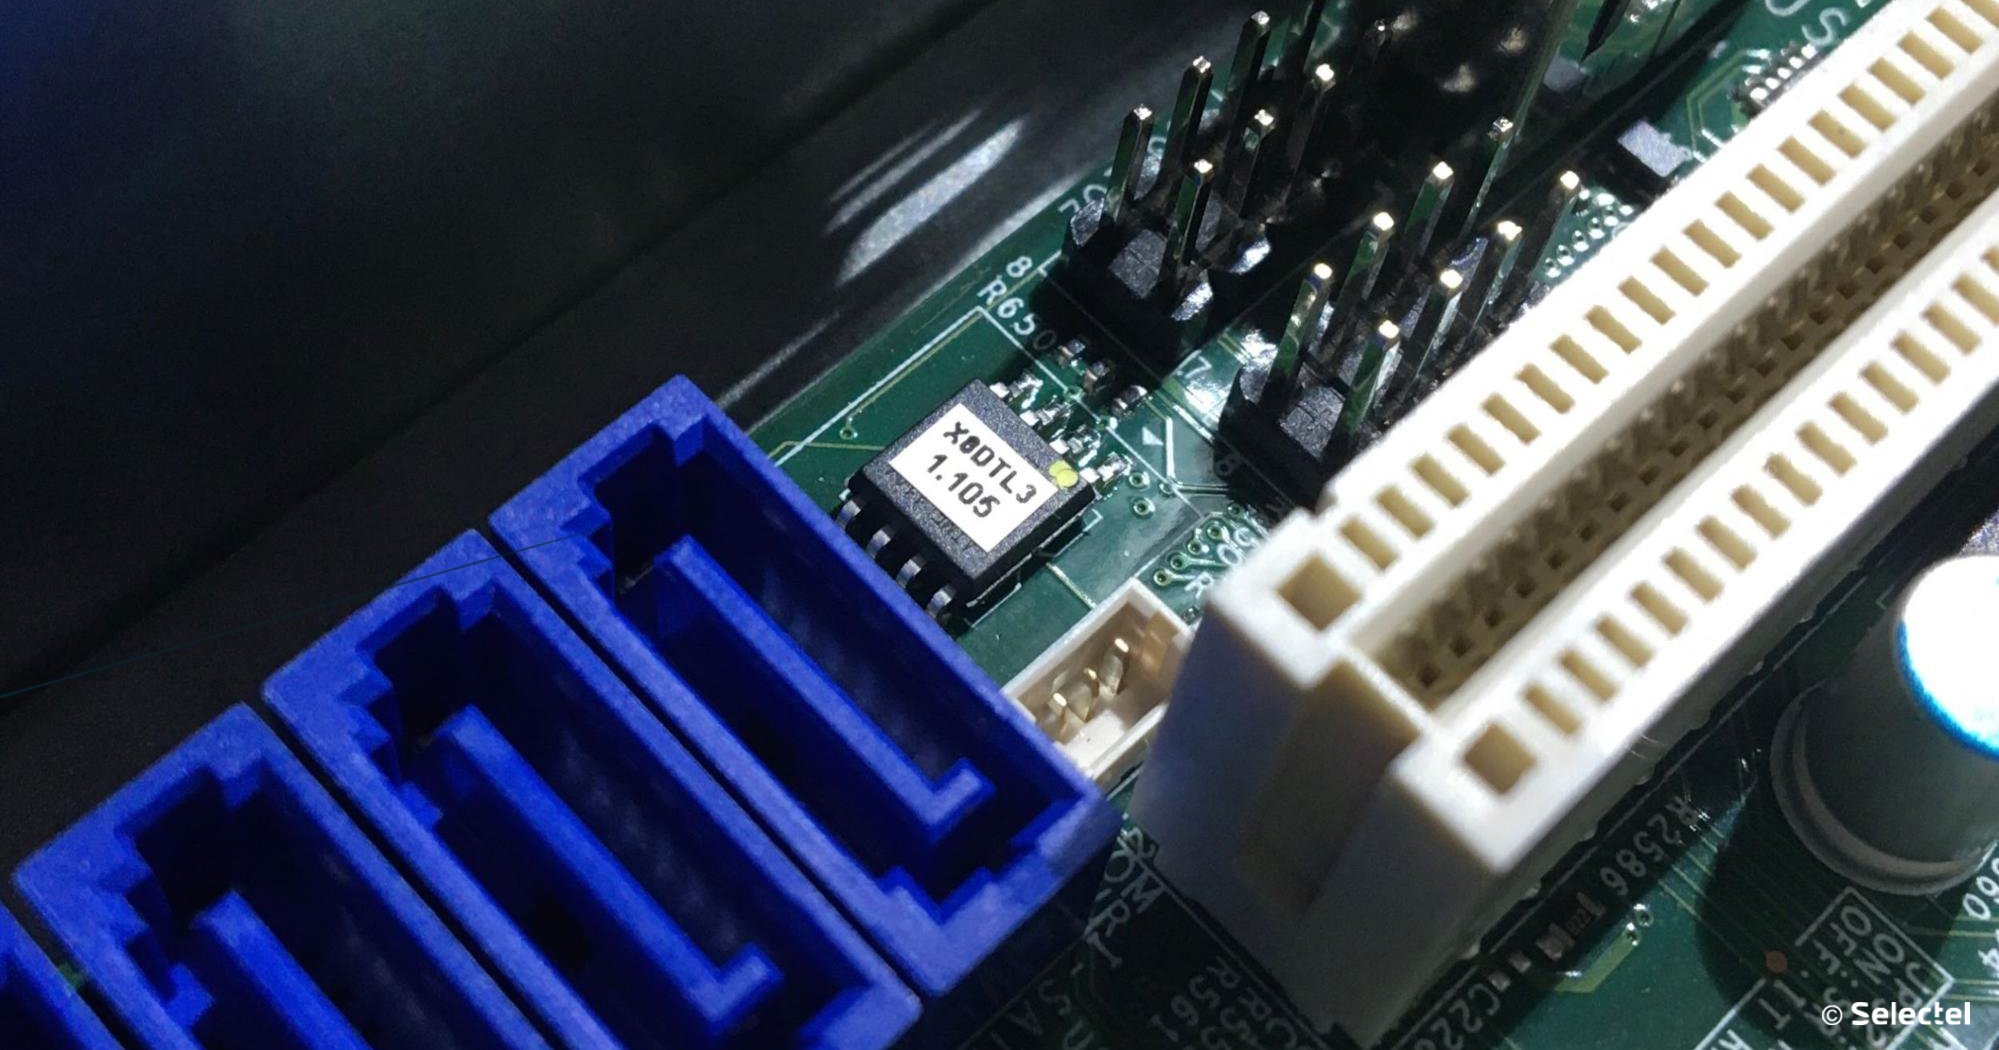
The most informative way to obtain information about possible malfunctions is to display the current POST code. Upon successful completion of the tests, the codes quickly replace each other, but in case of a malfunction, the POST stops and you can see the identifier of the failed test. Motherboard manufacturers always attach a decoding, which means a particular code.
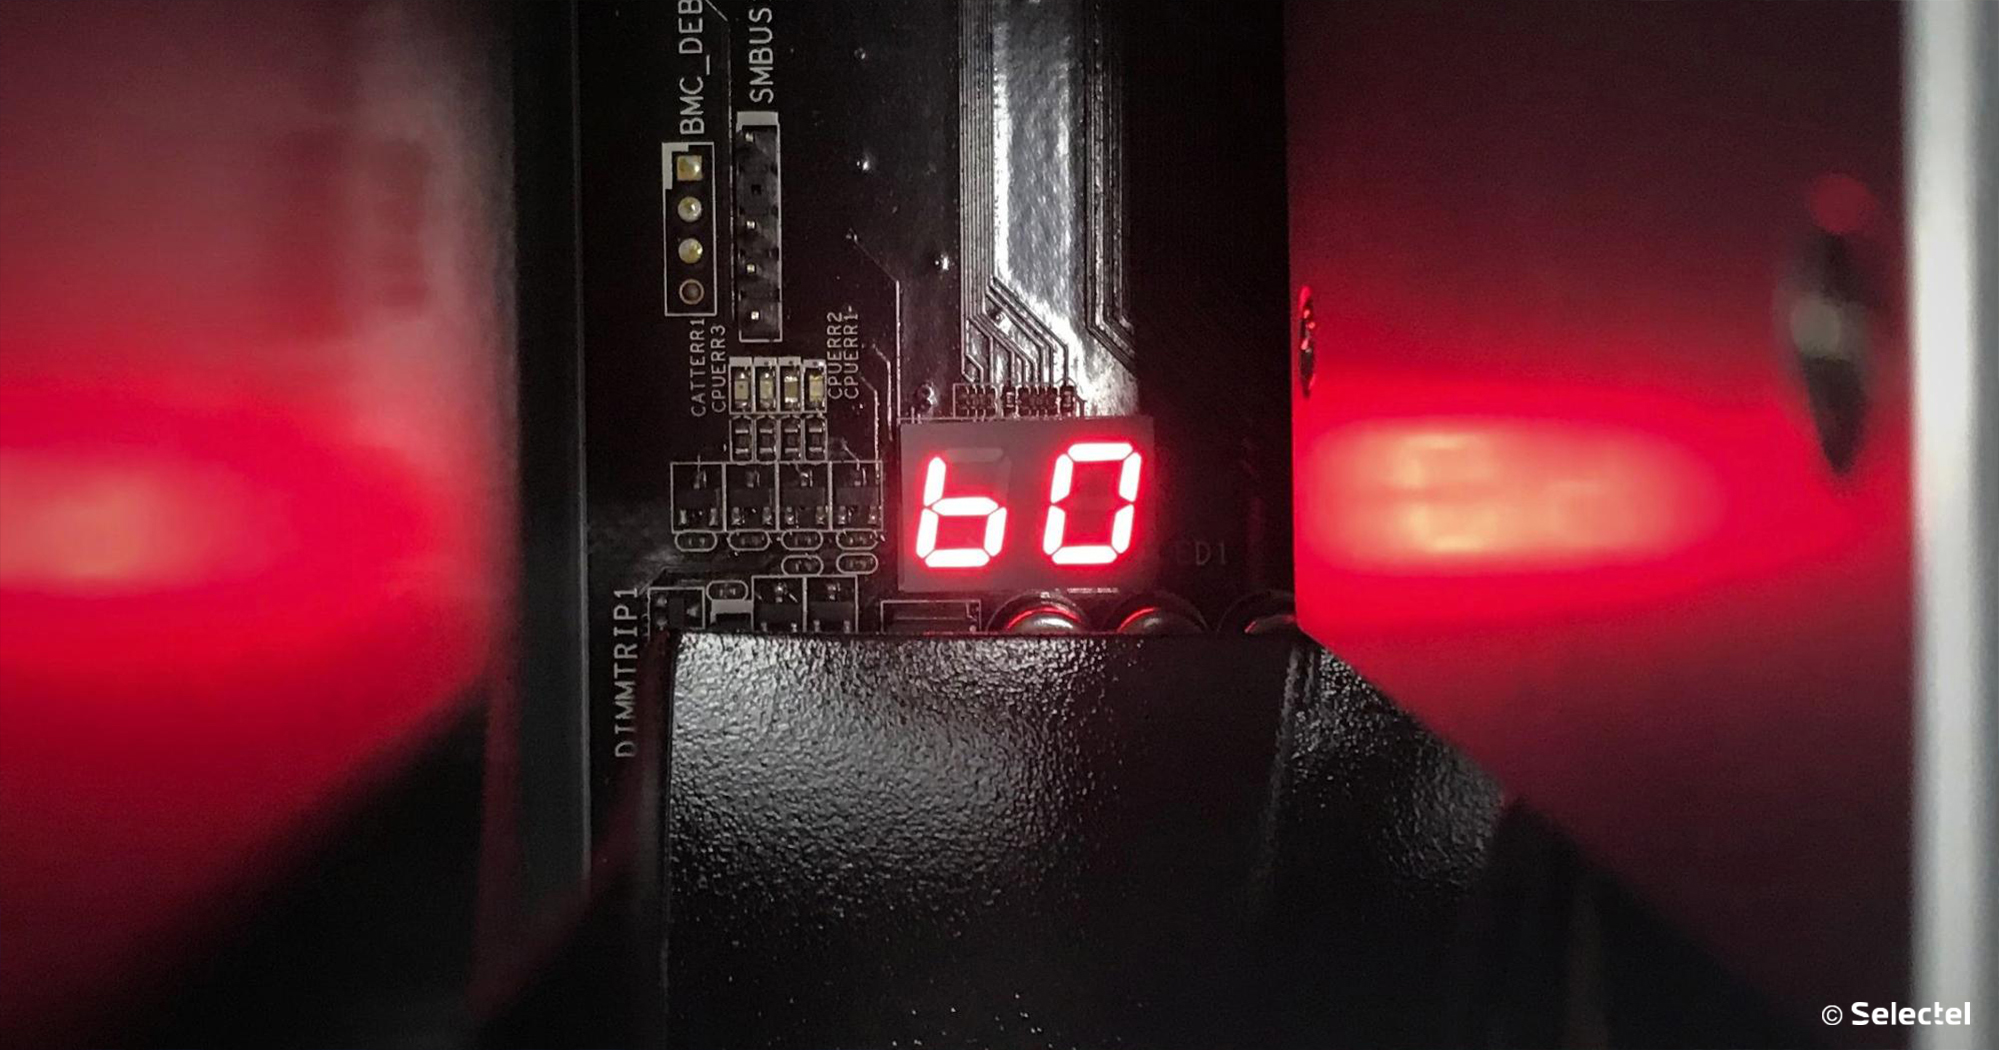
On modern motherboards there is an LED indication that allows you to identify a faulty component. If the server starts successfully, you can hear a beep that indicates that the POST was successful. By the duration and number of sound signals, it is also possible to determine a failed component.

In some cases, when maximum accuracy is required for diagnostics, you can resort to using an external device called a POST card. Motherboards send information about POST tests on data buses, and a POST card processes this information and displays it using the available indicators.
The BIOS has a special setup menu called BIOS Setup Utility . You can enter it by pressing a special key while passing POST. Most often, the keys for entering the BIOS are Del and F2 , however, when loading, it is always indicated which key will open the BIOS settings.
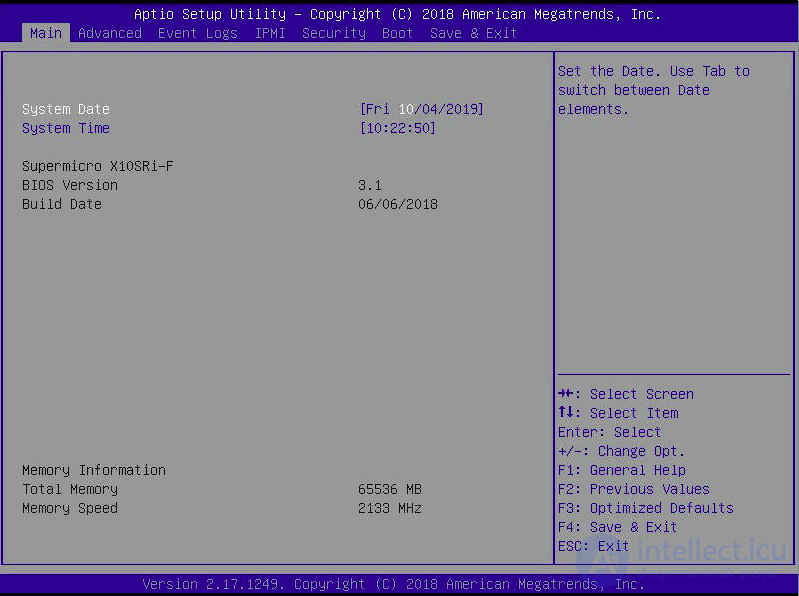
The BIOS Setup Utility provides an interface for configuration, which requires only a keyboard to communicate. BIOS Setup Utility provides information about installed hardware and allows you to change the operating parameters of the motherboard and connected equipment.
Possible names and options of this or that parameter depend on many factors, among which:
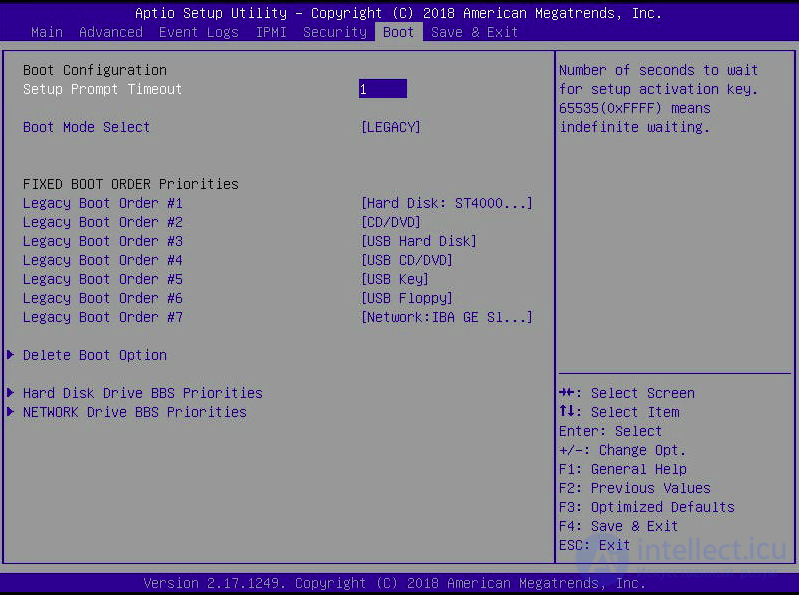
Among the parameters we are interested in Boot Priority . Boot priority sets the order in which the BIOS polls devices to find the boot area on them. As soon as the BIOS finds the boot area, control is transferred to the bootloader and the next step begins.
After passing the POST, the BIOS searches for the boot area, polling the devices in the specified order. In Legacy mode, the boot area on the disk is called Master Boot Record (MBR). MBR is a special structure located in the first 512 bytes of the disk. These 512 bytes contain the following data:
If there is no magic number 0xAA55 , then it is considered that the MBR record on this disk was not found and the BIOS proceeds to poll the next disk.
When the BIOS finds the MBR record, it copies it from the disk to the RAM at the address 0x7C00 and jumps to this address. After the jump, the first stage ( Stage 1 ) of the bootloader begins . Due to the limited size, the purpose of the first stage is to load the second stage code ( Stage 2 ) into memory and transfer control to it. Stage 2
Codestored immediately after the MBR structure and until the beginning of the first disk partition. Historically, this gap contains 31 KB of memory, and in modern systems it reaches 1 MB. However, to maintain compatibility, the size of the second stage does not exceed 31 KB.
The second stage prepares the environment for launching the third stage:
Stage 3 tasks boil down to minimal setup of the environment and bootloader:
Protected Mode - compatibility mode with x86 processors. In this mode, the processor is capable of executing 32-bit instructions, and the address space expands to 4 GiB. Significant innovations have appeared in Protected Mode, for example:
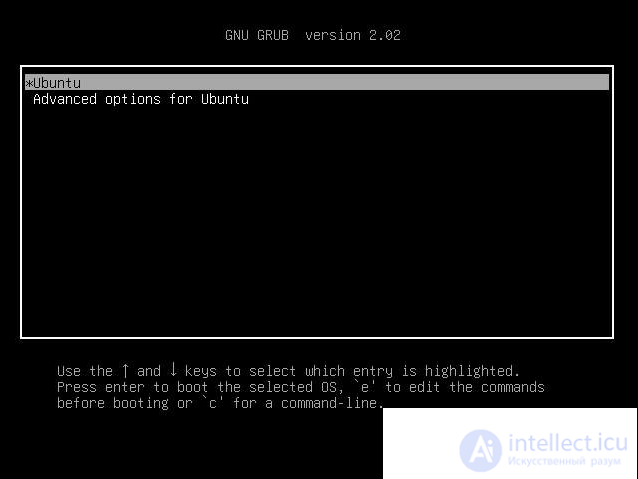
The fourth stage ( Stage 4 ) is already running in 32-bit mode, if necessary, it is loaded from the GUI expansion disk, “parses” the grub.cfg file and displays the familiar OS selection menu.
GRUB2 follows the Multiboot specification for loading the kernel executable. The bootloader checks the magic number 0x1BADB002 at the beginning of the kernel and checks the checksum to make sure the kernel is compatible with the specification. After successful verification, the kernel can be loaded into RAM and transferred to it.
According to the same specification, the bootloader provides the kernel with system information, such as:
Despite the fact that the bootloader used file system drivers and, possibly, extensions for the graphical interface, the bootable kernel will not receive all these wonderful things. First of all, after gaining control, the kernel "reveals" the full potential of the server and puts the processor in Long Mode .
Long Mode - the main mode of 64-bit processors. In this mode, the processor is able to execute 64-bit instructions and use 64-bit general-purpose registers. Address space holds 16 EIB. Long Mode abolished the segmented memory organization inherent in the 32-bit architecture.
Despite the huge address space for addressing physical memory, only 48 bits out of the possible 64 are used, which reduces the maximum amount of RAM to 256 TiB, which is 65,536 times less than the address space. In the foreseeable future, it is planned to expand the physical addressing to 57 bits.
After switching to Long Mode, the kernel performs the minimum set of actions necessary for operation:
It is important that before configuring the process scheduler, the server worked on a single core, which was called BSP. Configuring the scheduler wakes up the rest of the kernel called Application Processor (AP). The kernels do not have a direct connection between each other, and their communication is done through local interrupt handlers called the Local Advanced Programmable Interrupt Controller (LAPIC).
The kernel of the operating system is launched on the BSP, which during initialization received information about the available processors in the system using the ACPI tables. BSP, using its own LAPIC, sends a sequence of interruptions " Init - StartUp - StartUp"To awaken all APs. After starting, application processors also need to be initialized and transferred to Long Mode, but now this process is faster, since this work has already been done by the main processor.
After all APs are initialized, the process scheduler starts a service process called “ inaction ” or Idle . As the name implies, this process does nothing and takes up the processor when there are no other processes.
When everything is configured and ready to work, the kernel of the operating system starts the first process in user space - Init. That, in turn, starts the rest of the processes in user space. After the init process starts, the kernel goes into standby mode and is inactive until tasks appear in the kernel space.
After starting all processes, the server becomes available over the network, and on the console you can see the Logon prompt on the screen.
At first glance, a simple and quick server startup and loading the operating system is in fact a complex and confusing process with many nuances. The passage of this process is a small evolution that develops the processing power of the processor from old 16-bit processors to modern 64-bit “monsters”.
And what do you think, when 128-bit processors appear, will there be a compatibility mode with 16-bit ones in them?

Comments
To leave a comment
Operating Systems and System Programming
Terms: Operating Systems and System Programming